
How to use the Impossible Launchpad — Whitelist Winner Edition
Calling all whitelist allocation winners! Check out the ultimate guide to using the Impossible Finance launchpad.
So you've won a whitelist allocation in one of our Impossible marketing campaigns — congratulations! Now what?
Step 1: Connect Wallet
Go to the Invest Page, on our Impossible.Finance website, and connect your Wallet.
Step 2: Verify KYC
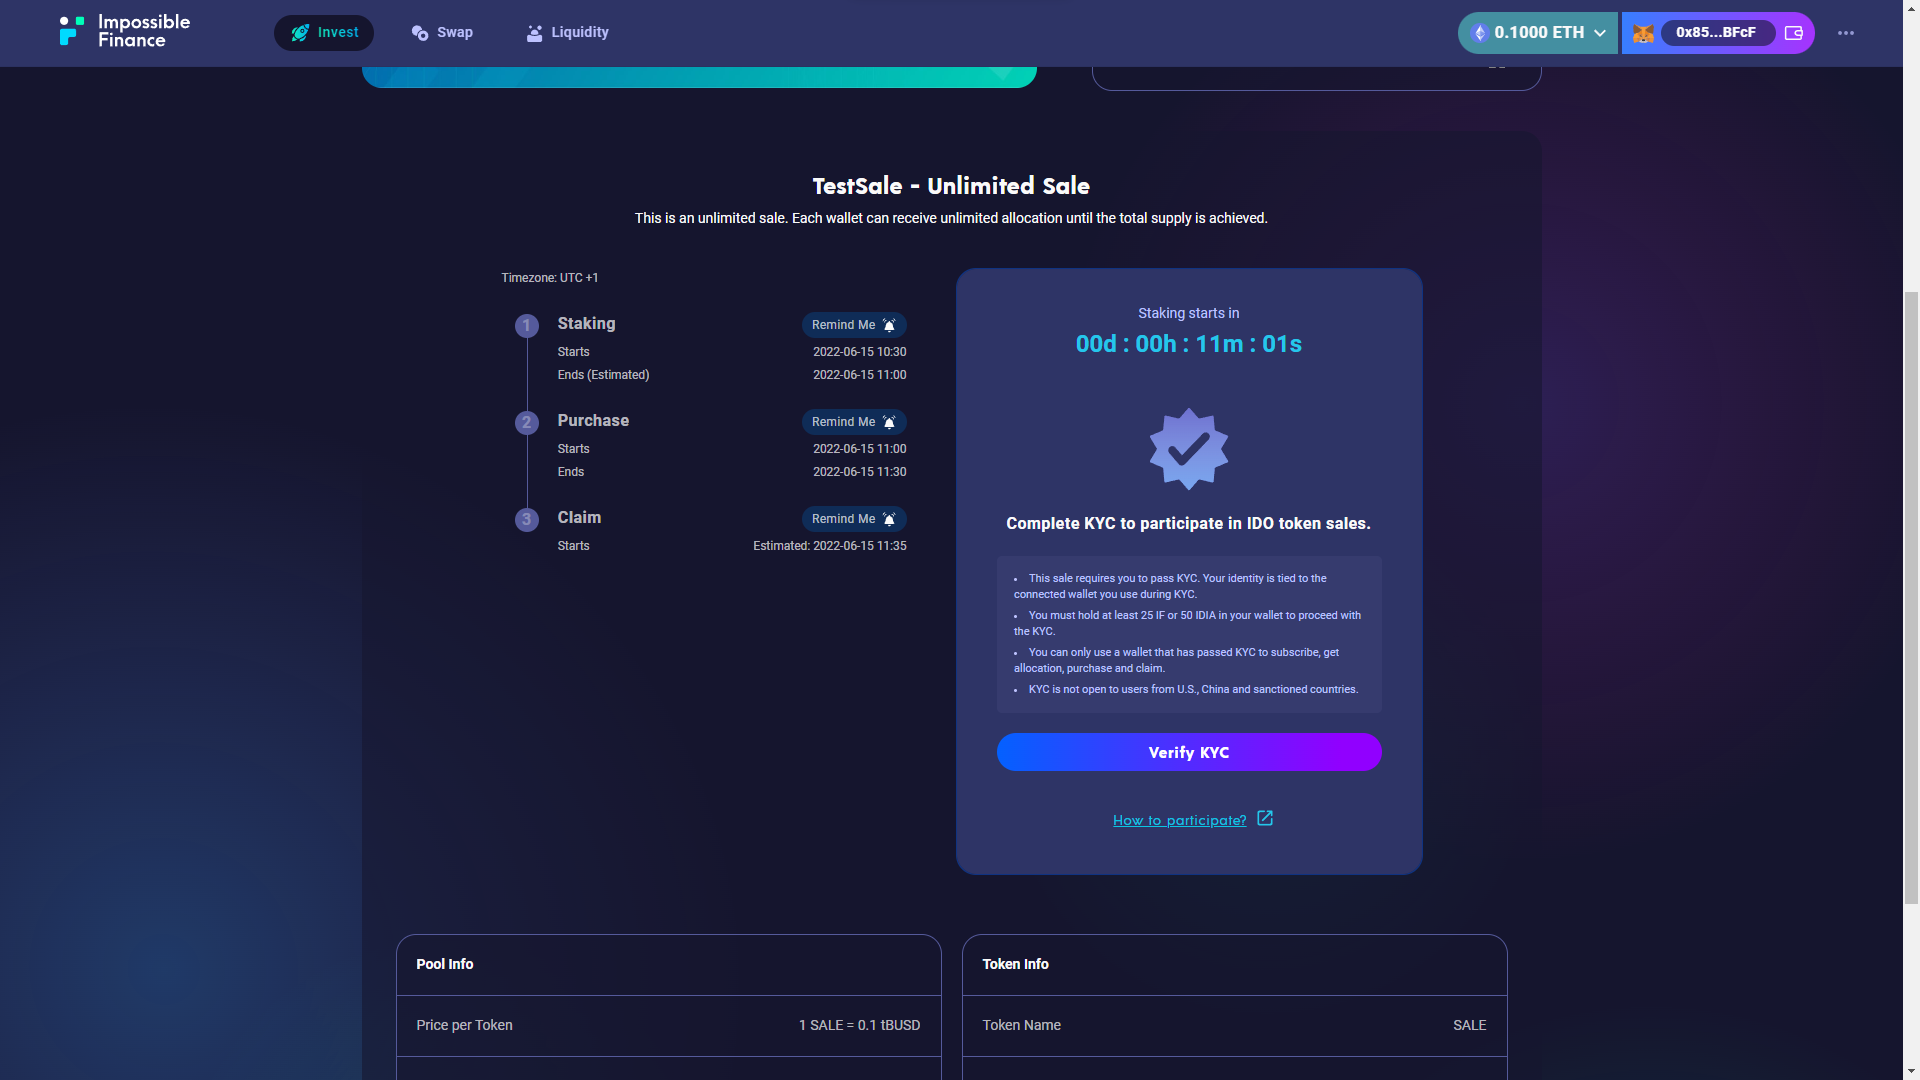
It mandatory for you to KYC on Impossible Finance to participate in any IDOs. This process might take up to 72 hours to complete, so be sure to do as soon as you can. If you haven't done so yet, verify your Wallet by passing our KYC process.
Be sure to KYC using the same wallet address that was whitelisted for the IDO allocation.
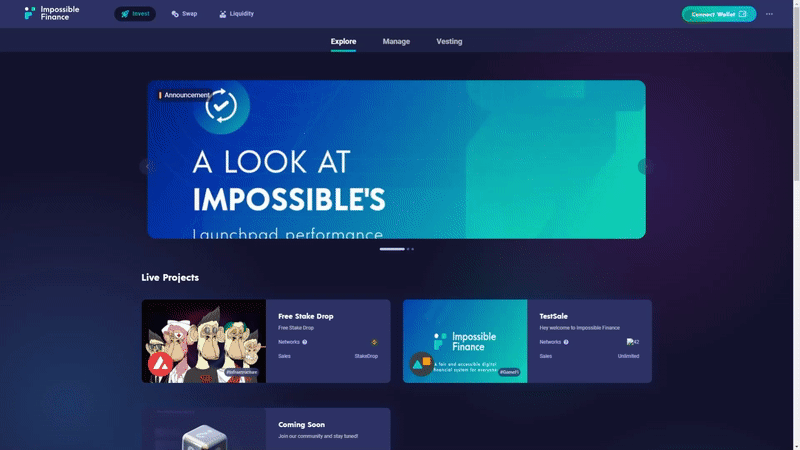
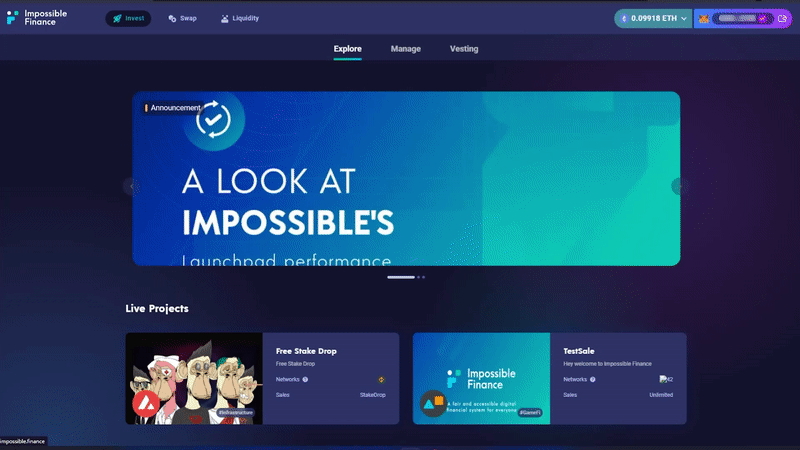
Step 3: Choose IDO
On the Invest Page, select the IDO you want to participate in, under Live Projects.
Step 4: Stake IDIA (optional)
As a Whitelist allocation winner, you still have the option to stake vIDIA or IDIA during the Staking Period if you would like to receive more allocation.
If you would like to purchase tokens directly during the Purchase Period (Step 5), you may skip this step.
If you would like to stake, here’s how:
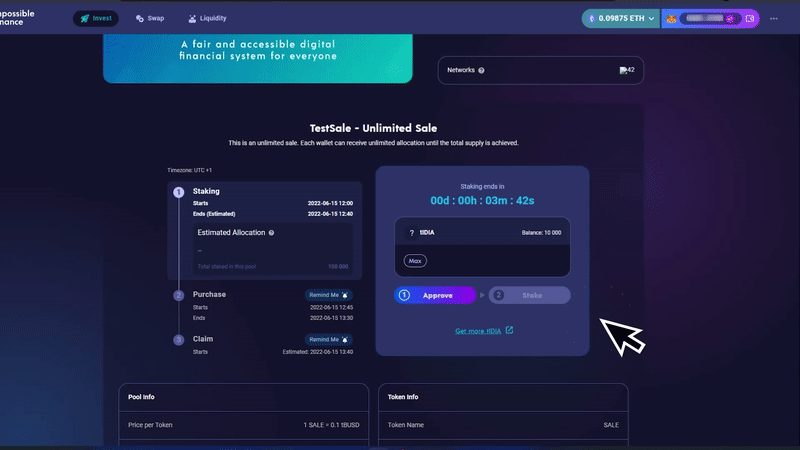
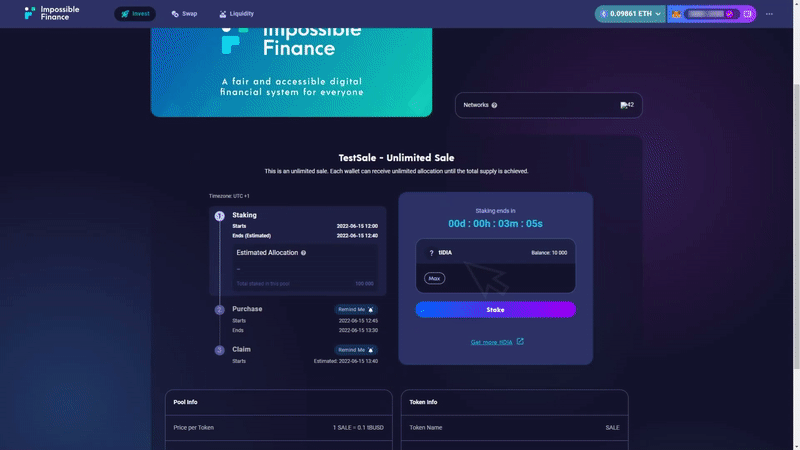
During the Staking Period, choose how much IDIA you want to Stake, approve it on your Wallet & Stake it.
Do note that the Staking Period closes before the Purchase Period. Be sure to check our IDO Announcements on the Impossible Blog for the full timeline of each IDO.
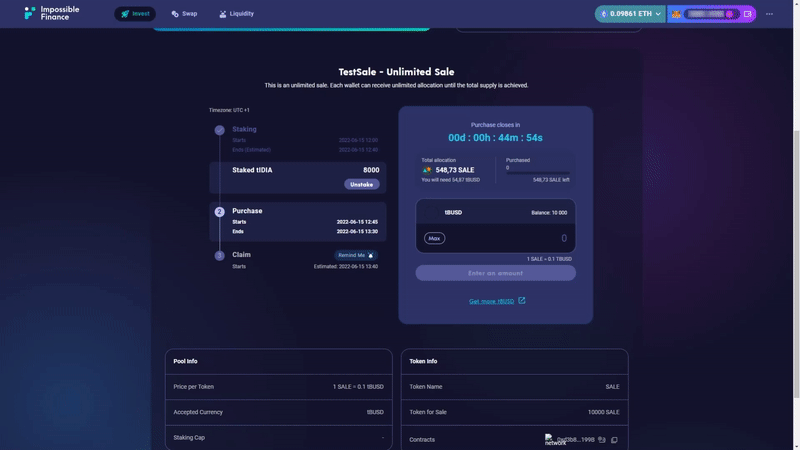
Step 5: Purchase Tokens
Once the Purchase Period starts, you will be able to see a Sale card specifically for Whitelist allocation winners. Select the amount of tokens you wish to Purchase, approve it on your Wallet & Purchase it.
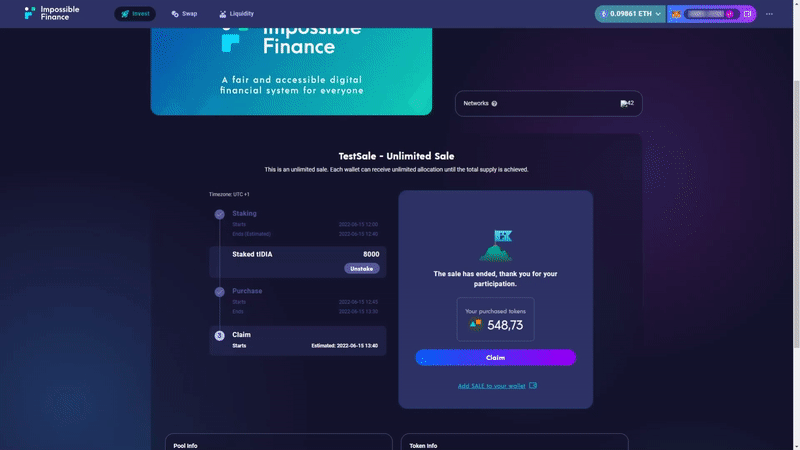
Step 6: Claim Tokens
Once the Claim Period starts, you can then Claim your purchased Tokens! Just click Claim, approve the Transactions on your wallet & add the Token Address to your Wallet.
Depending on each IDO, there may be times you will not need to claim tokens as they will be sent/airdropped directly into your wallet. Be sure to check each IDO announcement for more information about claiming tokens.
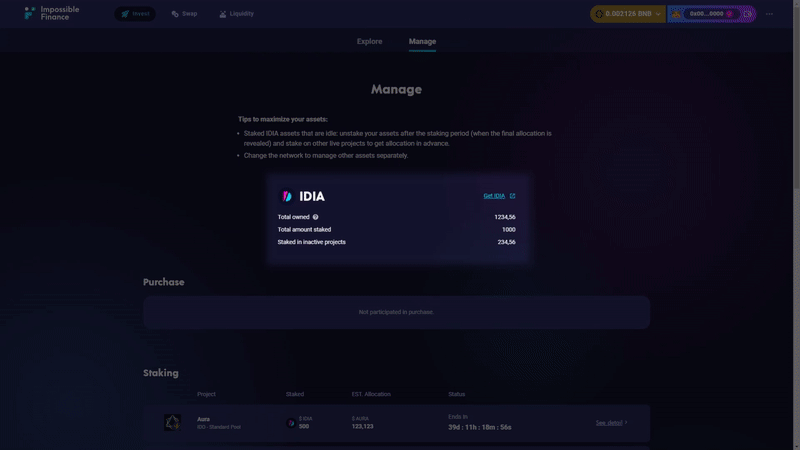
Step 7: Manage Participated Projects
You can always go to the manage tab to have an overview of your participated projects and manage those tokens as well as your IDIA.
You can also use the side bar for quick access if you click on a project row.
Voila!
You have now successfully learned how to participate in an Impossible Finance IDO!
About Impossible Finance
Impossible Finance is the go-to crypto investment platform that empowers you with high-quality, fair and accessible crypto opportunities. We simplify DeFi so you can enjoy fairer investing, cheaper trading and better yields through our accelerator, launchpad, and swap platform.